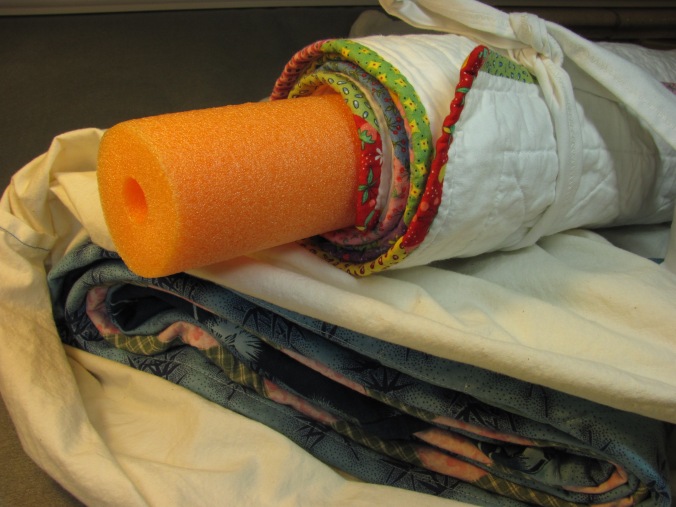
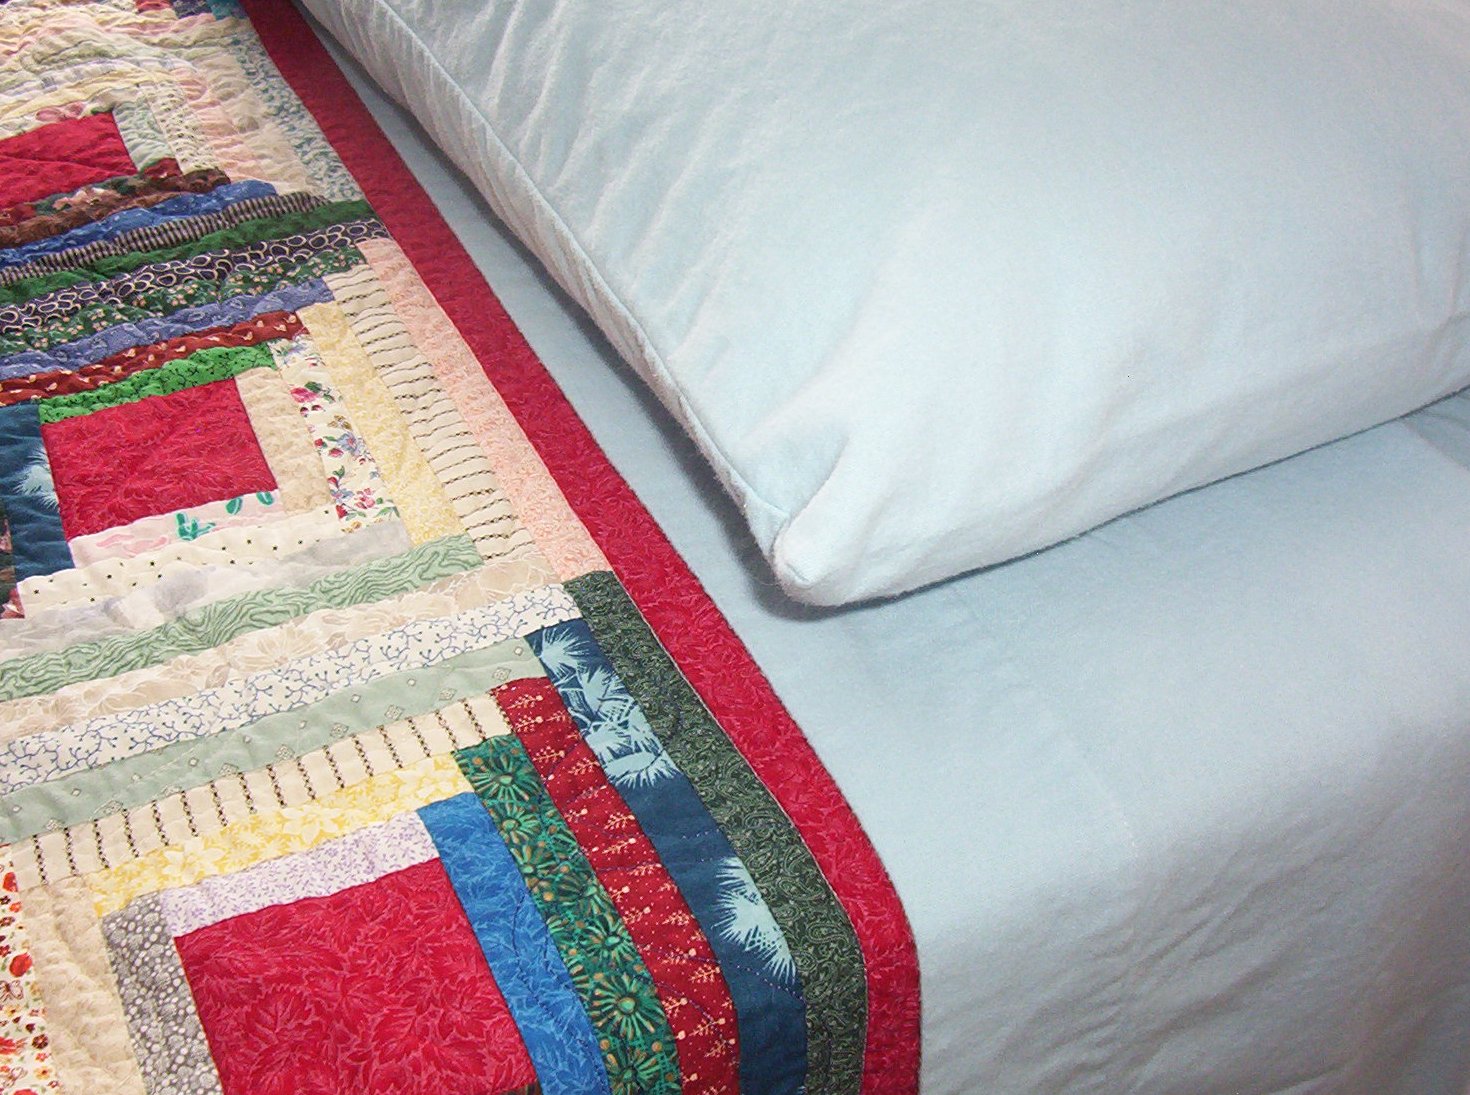
Storing Quilts

2016-05QuiltStorageBarb Gorges12

A queen-sized quilt is folded on the bias lengthwise, about 2 feet wide, and then rolled and inserted in a custom-made pillow case. A wall quilt is loosely rolled on a swim noodle and tied in place with a fabric strip so it can stand upright in a closet. Photo by Barb Gorges.

Storing quilts: How to Help Your Quilt Live to 100, Part 12

By Barb Gorges

The best way to store a quilt is flat, in the dark, protected from dirt and interactions with chemicals, and at “room temperature.” Layering a few quilts on your guest bed comes close, especially if you lay old sheets between them.

However, most of us have to compromise with textile collection standards. I fold my big quilts, but I try to fold them in unprecise thirds or on the bias, differently each time. I don’t want to end up with that permanent crease down the middle that is seen in so many antique quilts. After folding them in one direction, I often roll big quilts in the other direction, then put them in extra-long pillow cases I make for each quilt, either out of cheap, washed muslin or the quilt’s fabric leftovers.

For small quilts, I use a swim noodle that is longer than the quilt is wide, or other cylinders covered in batting and muslin scraps. I roll the quilt around it, tying it loosely with a couple leftover fabric strips. I often roll more than one quilt on a noodle and top it all off with a covering of muslin.  In my closet I stand the rolls upright on the protruding ends of the swim noodles.

I place fragile quilts in acid-free boxes and use crumpled, washed muslin instead of tissue paper to stuff in the quilt folds and to wrap them to protect them from contact with the box.

Situations you want to avoid include contact with raw wood (including cedar chests—wrap the quilt), plastic that isn’t museum conservation-quality, damp places, dirty/smelly places and anywhere temperatures get extremely hot or cold. And don’t stack quilts more than three or four deep.

In whatever situation you store a quilt, it is important to take it out every several months to examine it for insect damage and to air it—and enjoy it.

The first 11 parts of this series are available at this website.

Advertisement

Drying Quilts

2016-03QuiltDryBarbGorges11

It’s best to dry quilts flat on carpet protected by a sheet. Photo by Barb Gorges.

Drying quilts: How to Help Your Quilt Live to 100, Part 11

By Barb Gorges

A wet quilt is a delicate thing. The larger it is, the heavier it is and the more carefully it must be treated to make sure the weight doesn’t break quilting stitches. However, a heavily machine-quilted quilt is probably stronger than one with widely-spaced or hand-quilted lines of stitching.

It’s best to air dry quilts flat. I lay a clean sheet over polyester or nylon carpet and then spread the quilt, squaring it up, blocking it. Here in Wyoming, even quilts with cotton batting are dry in a few hours. If necessary, set up a fan.

But if I use the “max extract” option on my washing machine, the quilt is so compressed by the end that I opt to toss it in the dryer on very low heat or just air for 10 minutes to loosen it up and make it easier to spread. Some quilters, before the quilt on the floor is completely dry, will pop it in the dryer to fluff it.

If you think any of the fabrics might bleed (you didn’t make the quilt or you didn’t take steps in Part 4 to check fabric washability), forget air drying—put the quilt in the dryer immediately, before the dyes have a chance to migrate. One reason we avoid using the dryer is to lessen wear and tear on the quilt, but I think a stain from a bleeding fabric is worse.

Line drying is very hard on a quilt, especially if it’s large and clothespinned. Stitching may break. However, a hard-used crib quilt will be just fine on a line. For other utility quilts, if you have multiple parallel clotheslines, you could spread a quilt out over all of them. Be sure to wash the lines or cover them with a sheet first. And maybe put a sheet over the quilt to protect it from passing birds.

The first 10 parts of this series are available on this website.

Washing Quilts

Quilt washing

Front-loading washing machines make washing quilts easy, but top loaders can be adapted. Photo by Barb Gorges.

Washing quilts: How to Help Your Quilt Live to 100, Part 10

By Barb Gorges

From Part 9 we have the list of what we need before putting a quilt in a washing machine: color-fast fabric, Shout color-catcher sheets, quilt in good repair (not fragile antique), stains treated, Orvus soap–either from the feed store or the quilt shop, and clean front-loading machine.

Don’t use other laundry products such as bleach or fabric softener.

Orvus soap is a white solid at 65 degrees. Even if it’s warm enough to be a liquid, mix it with half a cup of warm water before pouring into the soap dispenser. A tablespoon is enough for a queen-sized quilt. Use less for smaller quilts–too much and you will be rinsing forever.

Set the machine for cold wash, cold rinse, and hand wash cycle—or the lowest amount of “agitation” possible. Add an extra rinse or plan to send the quilt through a complete wash cycle again without soap. The “Max Extract” spin setting is good.

For top loaders, fill with lukewarm water. Mix in the soap. Turn the machine off and add the quilt. Use your hands instead of the agitation cycle for a few minutes, gently lifting and moving the quilt. Then let the quilt soak 10 minutes before setting the washer controls for the rinse cycle. Substitute your hands again for the agitation in the rinse cycle, then let it spin.

With either machine, when finished, check immediately to see if there was any bleeding. If so, treat with stain remover and rewash immediately (and recheck immediately again)—and plan to dry that quilt fairly quickly in the dryer.

Otherwise, check to make sure the quilt doesn’t sound soapy. If in doubt, run it through another washing again, without soap. Next issue we will discuss the finer points of drying quilts.

Scroll down to read the first nine parts of this series.

Preparing to Wash Quilts

Orvus quilt soap

One of the best and most widely available quilt soaps is Orvus. Photo by Barb Gorges.

Preparing to Wash Quilts: How to Help Your Quilt Live to 100, Part 9

By Barb Gorges

You’ve done your best to keep your quilt dirt-free (Part 5) and you’ve aired it regularly to keep it smelling nice (Part 8), but now it needs to be washed.

If you made the quilt, you already tested the fabrics for washability (Part 4). But if you didn’t make the quilt, and it has never been washed before, do a test for bleeding on these kinds of fabrics: color saturated, especially red and dark blue; any hand-dyed; and cheap fabrics.

Wet a piece of white cotton fabric and rub it on the potential bleeder to see if the dye transfers. It doesn’t necessarily mean this excess dye will transfer to the rest of the quilt, but you’ll want to treat the quilt as if it would.

If the quilt is well-used, be sure to inspect it for any damage and sew up any tears and patch any holes. If this is a valuable antique quilt, let the experts repair the quilt (or instruct you on how to do it). However, the washing directions here are not for antique or fragile quilts.

Find soap. It should be free of perfumes and additives, like Orvus quilt soap. If you might have bleeding problems, get a box of color catcher sheets, such as the Shout brand, and use multiple sheets per quilt.

Find a front-loading washing machine. Avoid a commercial machine used for washing oily clothes or that has soap residue (run it empty to see if suds develop). A nearby dryer capable of very low heat settings is useful. Chlorine-free water would be nice.

What you won’t need are bleach, fabric softener and any other laundry aids–unless the quilt has a stain. Then try one of the spray-on stain removers.

Scroll down to read the first eight parts of this series.

Freshening Quilts

Quilt freshening

A little time with a damp cloth in a dryer on low heat will freshen a quilt. Photo by Barb Gorges.

Quilt freshening: How to Help Your Quilt Live to 100, Part 8

By Barb Gorges

Quilt care directions seem to be synonymous with quilt washing instructions for many people. But when does a quilt need washing? When it has actual dirt on it, actual body oils.

Quilts can often smell musty after being in storage, but that doesn’t mean they need washing. Each washing shortens the lifespan of a quilt (however, grit can cause fabric wear).

Sometimes, all a quilt needs is a good airing. If it has been folded up, lay it out on a bed. Maybe open a window to get some cross ventilation.

If it is too smelly for indoor airing, go outside. Find a shady place to lay a sheet on the lawn, with the quilt on top, and another sheet over it—to protect it from the birds. This is supposing you have a nice lawn and the wind isn’t blowing.

Resist the temptation to put your quilt on the clothesline—it’s hard on the stitching, although today’s densely machine-quilted quilts are probably up to the task. I have multiple parallel clotheslines I can lay a quilt over—but I need to clean the plastic-coated lines first. Using a protective sheet on top is a good idea.

But company is coming and you don’t have time to lay the extra quilts outside for the day. So try this if the quilt is colorfast: Wet two or three colorfast hand towels and throw them and the quilt in the dryer on a low heat setting, or even just on air. If the quilt gets too damp, remove the towels. If you are fond of the smell of dryer sheets, add one, or sachets.

Moist, low heat in the dryer also helps take out fold marks and removes pet hair, allowing you to put off washing for a little longer.

How to Hang a Quilt

hanging sleeve

This sleeve design protects the quilt from the rod and the “pooch” helps the quilt hang flat. Photo by Barb Gorges.

Quilt Hanging: How to Help Your Quilt Live to 100, Part 7

By Barb Gorges

Over the last 30 years the quilting community has developed a nearly standardized tube-type sleeve for hanging quilts, protecting the quilt from the rod, and with less distortion.

Perhaps using leftover fabric from the back of the quilt, piece a strip of fabric 9 inches wide and as long as the width of the quilt. If it is for a king-sized quilt, cut the length in half to make two sleeves, allowing for a middle rod support.

Hem the short edges by turning under ½ inch towards the wrong or right side, pressing, and turning under again. Stitch in place.

Match the two long edges with wrong sides together and stitch using a ½-inch seam allowance. Press this seam open and at the same time, flatten the tube so that the raw edge of one of the seam allowances is just a little short of one of the folds.

Rearrange the tube to press another parallel fold that is on the other side of the seam allowances, and 3 inches from the fold closest to the seam allowances.

On the quilt, mark a line across the back 1 to 2 inches below the top edge of the quilt, and another line 3 inches below the first line. Center the sleeve, matching the folds closest to the seam allowances with the lines and pin in place.

Use either a whip stitch or a large version of your favorite applique stitch to sew along the pinned folds, catching generous amounts of the quilt backing and batting. Also sew down the parts of the ends of the tube that are against the back of the quilt.

Use your imagination for ways to support the ends of the rod. A rod can be cut almost the width of the quilt to hide it, or a little longer, for insertion into decorative brackets.

Scroll down to read the first six parts of this series. More detailed sleeve instructions are available at this website, on the “Quilt Care Tips” page.

Light versus quilts

Fading

Two navy blue fabrics reacted differently to ultraviolet light from sunlight and artificial light over the last 20 years while on display only about one month per year. Photo by Barb Gorges.

Quilt Display: How to Help Your Quilt Live to 100, Part 6

By Barb Gorges

*Scroll down to see the first five parts of this series or click on the tab above for general quilt care information.

Spreading your quilts on beds is only one way to display them. Many of us drape quilts over other furniture (avoiding unsealed wood), fold and stack them on open shelves or hang them on the wall.

Quilts on display don’t get the same rough treatment as quilts used for warmth. Instead, light is the biggest problem. If you’ve replaced your windows with energy efficient, low e (low-emissivity) glass, you’ve somewhat reduced the fading problem caused by the ultraviolet wavelength in sunlight.

Artificial lighting also has UV rays. Fluorescent lighting is the worst. Look for products that can filter UV light.

It is inevitable that quilts will fade if they spend any time with enough light to be seen, and that is part of the charm of antique quilts. At least make sure your quilt doesn’t fade unevenly.

A quilt faded along an exposed fold looks worse than a quilt with overall fading. Refold those quilts on display often. Flip the quilt around so the same corner isn’t illuminated by the same sunbeam each day.

One recommendation, from www.museumtextiles.com, is to rotate quilts on display every 6 months. In a bright location, I think you should rotate them even more often. This is the justification you need to make lots of quilts—at least one for each season for each display location!

After light, dirt is the other issue for quilts on display: dust, pollution, household cleaning product fumes, pet hair, wood smoke, tobacco smoke, greasy cooking vapors. You may want to wash a quilt (a future topic) that has been on display for a while before rotating it into storage.

Next time I’ll discuss how to safely hang a quilt.

Use quilts gently

Frayed quilt edge

Pulling it up to your chin is hard on a quilt’s edge over time. Photo by Barb Gorges.

Quilt Use: How to Help Your Quilt Live to 100, Part 5

By Barb Gorges

The first four parts of this series examined quilt genetics—what materials and techniques make a strong quilt that might last a few generations. Now we’ll look at how a quilt’s lifestyle—the way you use it, affects its longevity.

Lying on a bed is a safe place for a quilt. No stress on seams, probably dim light, and temperatures comfortable for humans and textiles.

The lucky quilt is protected from jumping pets, stuff thrown on it and people sitting on it. But it’s hard to train family to flip back the quilt before sitting or packing a suitcase on it.

Bedmaking can be hard on a quilt if someone grabs the top edge and just pulls. It is better to lift the quilt into place instead of tugging.

Quilt with sheet

Protect the top edge of your quilt with a generous amount of sheet turned over it. Photo by Barb Gorges.

The top edge of a quilt also gets a lot of wear from the oils from our hands and faces, and the roughness of men’s beards. I like to make square quilts so the edges can be rotated. But the best protection is a generous amount of sheet turned over the quilt’s edge.

Long ago, housewives basted fabric “beard guards” over the top edge of a quilt. The ones I’ve seen cover maybe 6-10 inches on both front and back. I don’t know if they were left on until they were completely worn out, or if the industrious housewives took them off for washing on a regular basis.

Conservation of your quilt must be balanced with use and enjoyment. Some quilts are destined to be dragged by small children or spilled on while eating in front of the TV. Hopefully, those aren’t the ones you put much time into making.

If your quilt wears out prematurely from love and hard use, take that as a compliment.

Test Fabric Washability

Dye bleeding

Red is a color likely to bleed. Not all dyes that bleed stain adjoining fabric. Test to find out, before making the quilt. Photo by Barb Gorges.

How to Help Your Quilt Live to 100, Part 4

By Barb Gorges

In my last two columns (see previous blog posts) I listed choices you can make that will prolong a quilt’s life before you even begin sewing. There is one more: the washability test.

Will fabric dyes bleed and make your quilt unattractive to the next generation? You can throw all of your new yardage in the washer and dryer and that will take care of a lot of excess dye problems. Or, like Harriet Hargrave, test a swatch of fabric in hot water.

But even if you see dye bleeding out of the swatch, it doesn’t tell you if it will wash away or re-attach itself to some other fabric in your quilt. Also, if you air-dry your quilt, it might take long enough that rogue dyes have a chance to migrate along seam lines to the other side of the quilt.

When preparing to make a major quilt, I make a quiltlet, piecing 2-inch squares of all the fabrics, alternating darks and lights in a checkerboard. I layer that with the batting and backing I intend to use and quilt it.

Then I put it in a bowl of boiling water with a little bit of regular laundry soap and let it soak before laying it out on a towel to dry—all the worst case scenarios that might promote bleeding and staining. When dry, I check the light-colored fabrics and along the quilting lines for any discoloration.

Testing fabrics this way will also tell you if one is substandard for other reasons, such as excessive shrinkage or fading.

If, after washing your quilt the first time, dye has migrated, quickly treat spots with a commercial stain remover and put the quilt back in the wash. You might also want to throw in a few Shout Color Catcher sheets. And after this treatment, you’ll want to dry the quilt quickly.

How Quilt-making Material Choices Lengthen Quilt Life

split seam

The borders of my first quilted pillow were not properly quilted and with use, the strong polyester thread sawed through the cotton fabric, cutting off the seam allowance. The green fabric is a polyester blend. Photo by Barb Gorges.

How to Help Your Quilt Live to 100, Part 3

By Barb Gorges

In the previous post I discussed how antique quilts show us the benefits of choosing good quality fabrics in helping our quilts survive more than one generation, and how you can decide if a fabric is qualified to be in your quilt.

But quilt longevity genetics depends on more than quality fabric and a quilt care label (see previous blog postings). I found out the hard way that thread and fabric should be compatible.

Years ago I pieced cotton fabric with polyester thread when I made a quilted couch pillow that got a lot of hard use. The polyester thread, much stronger than the cotton fabric, sawed right through along the seam lines. With the seam allowances cut off, there was no way to repair the patchwork.

A few years later, I brought home tied patchwork quilts my mother had made for my sister and me when we were little. All of the diagonal seams had popped open because the thread used for piecing had broken. I was able to re-stitch the seams because the seam allowances were still intact. And then I added a lot more yarn ties so that the quilt top had more support from the backing and the diagonal seams wouldn’t be under so much stress.

Back when I started quilting in the 1970s, everything was tied or quilted by hand and we were always trying to get away with the least amount of quilting so we could start new projects. Remembering my mom’s tied quilts, I told students to always use cotton thread for piecing cotton fabrics.

But now, with the advent of copious machine quilting, there is very little chance that patchwork seams will ever flex enough to come undone, so it might not matter if your thread and fabric are of the same substance, or the piecing thread is stronger than the fabric.

However, I do have reservations about using plastic in quilts. Polyester and all its cousins are everywhere in quilting: thread, trims, batting. The woman I learned to hand quilt from made lots of polyester double-knit quilts because everyone kept giving her fabric they found to be not very comfortable to wear—it didn’t breathe. We joked that her quilts would never disintegrate like cotton and in the distant future, archeologists will find only her quilts.

But I’m not so sure plastic materials will age that well. Some get brittle. Some turn yellow. Some get sticky. And that’s before being subjected to attic temperatures. I already know that polyester batting in a quilt used nightly for a number of years completely loses its loft. And I’m not sure the pilling problem—little polyester batting fibers poking through to the quilt surface and then tying themselves together in knotty pills—has been solved, though copious quilting might keep the batting from rubbing against the fabrics and poking through as much.

The biggest reason for using natural fibers for quilt batting—silk, wool and cotton (I don’t count bamboo because it is more like polyester) is breathability. In these discussions on what will help your bed quilt live to be 100 years old, comfort—as well as appearance—matter a lot. You want the next owners to keep your quilt for themselves instead of giving it to the dog if they don’t like it.

I’m also concerned about quilt-making aids that add chemicals to your quilt that are not washed out when the quilt is finished. Fusibles come to mind. I think they are great for fun wall hangings that you don’t expect to live that long. Fabric paints and markers fall in the same category, as do most non-fabric embellishments. There’s just no telling yet how some of these things will age.

I’m reminded of the time I was able to see some of Grandma Moses’s original artwork when it was on exhibit in Washington, D.C. She had decided to embellish her snow scenes with salt to make them sparkle. Except over the years all the added “snow” turned black.

Don’t hesitate to experiment with all the latest quilt-making aids. But when it comes to your heirloom-worthy quilt, ask yourself, “What did Great-Grandma do? How do her quilts look 100 years later?”