Preparing to Wash Quilts: How to Help Your Quilt Live to 100, Part 9
By Barb Gorges
You’ve done your best to keep your quilt dirt-free (Part 5) and you’ve aired it regularly to keep it smelling nice (Part 8), but now it needs to be washed.
If you made the quilt, you already tested the fabrics for washability (Part 4). But if you didn’t make the quilt, and it has never been washed before, do a test for bleeding on these kinds of fabrics: color saturated, especially red and dark blue; any hand-dyed; and cheap fabrics.
Wet a piece of white cotton fabric and rub it on the potential bleeder to see if the dye transfers. It doesn’t necessarily mean this excess dye will transfer to the rest of the quilt, but you’ll want to treat the quilt as if it would.
If the quilt is well-used, be sure to inspect it for any damage and sew up any tears and patch any holes. If this is a valuable antique quilt, let the experts repair the quilt (or instruct you on how to do it). However, the washing directions here are not for antique or fragile quilts.
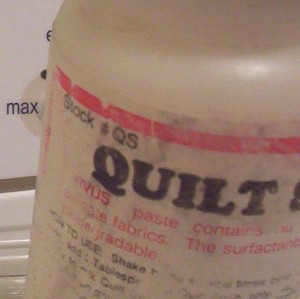
Find soap. It should be free of perfumes and additives, like Orvus quilt soap. If you might have bleeding problems, get a box of color catcher sheets, such as the Shout brand, and use multiple sheets per quilt.
Find a front-loading washing machine. Avoid a commercial machine used for washing oily clothes or that has soap residue (run it empty to see if suds develop). A nearby dryer capable of very low heat settings is useful. Chlorine-free water would be nice.
What you won’t need are bleach, fabric softener and any other laundry aids–unless the quilt has a stain. Then try one of the spray-on stain removers.
Scroll down to read the first eight parts of this series.
